
Choose the Right Finish
One of the many benefits of using treated pine is that it takes stain and paint well providing your deck with a nice consistent colour, however finishes aren’t just about adding colour. Applying a good quality finish will protect your outdoor timber projects from the harsh Tasmanian UV and keep them looking better for longer.
To ensure you don’t miss any spots, a good tip is to apply one coat of finish to the timber before you start building with it. That way you can be sure the timber has been encapsulated by at least one coat of finish. Apply the remaining number of finish coats recommended by the finish manufacturer, once you have finished building to build your project.
Don’t be tempted to scrimp on the quality of the finish. Cheap, poor-quality finishes can damage your timber by trapping moisture between the finish and the timber. This encourages mould growth and can make your timber warp and move out of place. Don’t de-value all your hard work.
Another good tip is to choose lighter finish colours to reflect heat away from your timber. Darker colours tend to expose timber to higher temperatures which can cause cracks and checking.
Which Type of Finish is Best?
When deciding what sort of finish to use on your deck, consider how much of your time and money you want to spend maintaining it. Often the higher initial costs associated with a higher quality finishing system will generally lead to lower on-going maintenance costs.
| Type of Finish | Maintenance – time between coats | Benefits of the Type of Finish |
| Oil | 1-3 years |
|
| Stain | 3-6 years |
|
| Paint | 7–10 years |
|
For more detail on the differences between finishing types see the Wood Solutions Design Guide #13 – Finishing Timber Externally.
Always Reseal Cut-Ends
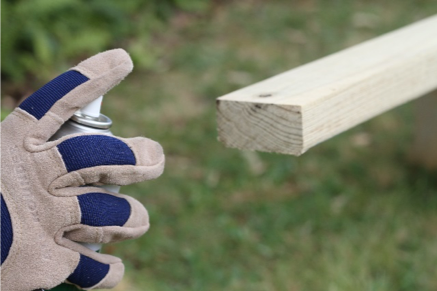
When you cut a piece of outdoor treated pine, drill holes in it, plane it back or adjust it some other way, you are altering the treatment envelope that was applied to the timber during production. This can create an entry point through which mould or insects can attack the timber.
To prevent this, always reseal any cut-ends, notches, check-outs, bolt holes, etc. that you make in treated pine with an outdoor-suitable resealing product like Ecoseal® or Enseal®. Just spray or paint the resealing product directly on the area you have altered prior to painting. These are available from your local timber supplier.
With H4 treated timber as a further protective measure, you should avoid placing the resealed cut-end or notched out surface in contact with the ground.
Don’t Nail it – Screw it
When fastening your decking boards to the joists, nails might be look the cheaper, quicker option but you will soon regret your decision.
The biggest problem with nails is over time timber expands and contracts slightly with the weather. This movement ends up causing the nail to pop-up out of the decking boards. Not a fun discovery to make when walking bare foot across your deck. Banging them back down won’t help for long, as they will work their way back up again as they have nothing to grip on to.
Screws on the other hand will stay down and if they do start to loosen, you can just screw them back down. Specific decking screws work really well just make sure they are hot dipped galvanised or stainless steel fixing when working with treated pine.
Pre-Drill Screw Holes
To make sure you don’t split your decking boards when screwing them onto the joists, pre-drill your holes. Use a drill bit that is the same size or slightly smaller than your screws.
Don’t Leave a Gap Between Boards
You may see many DIY videos and guides telling you to leave gaps between your decking boards when installing them however this isn’t usually the case in Tasmania as the gap needed depends on the treatment type.
Most pine decking sold in Tasmania is a ‘Wet After Treatment’ product, also referred to as ‘Wet Treated’ or just wet. This means the timber hasn’t been re-dried after being treated at the mill. Wet treated products will dry out slightly after they have been installed and exposed to the weather.
Because of this we recommend leaving not gaps between boards when laying wet decking as the in-situ drying process will create a small gap. However, if you are using LOSP treated or Dry decking, you should leave a 3mm gap between boards. To find out what treatment type has been used on your boards, check your invoice or ask your timber supplier.
To work out how many decking boards you need for your deck, use our decking calculator.